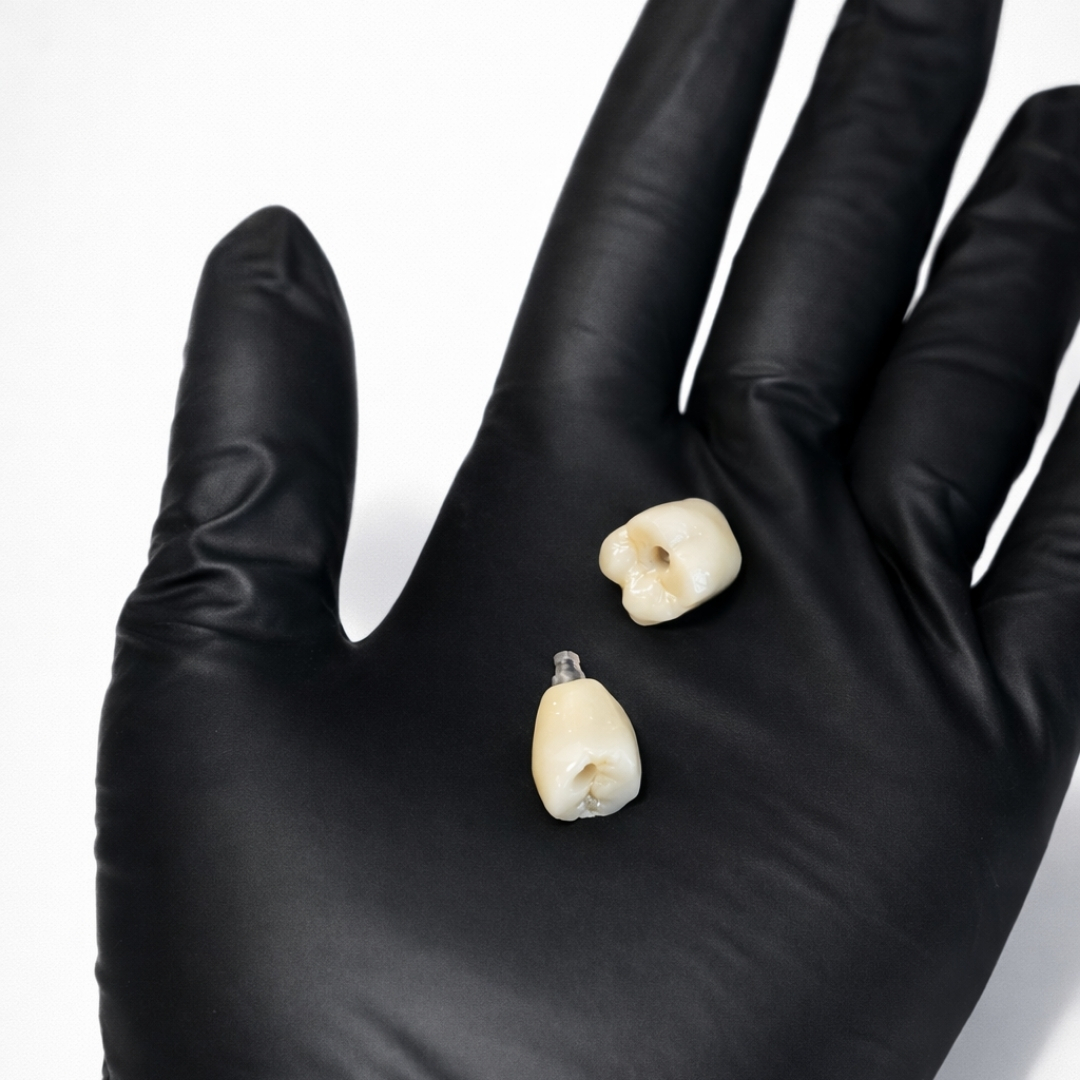
Whether you restore a single implant or a full-arch prosthesis, the lab’s questions usually cluster around the same topics: Which connection and platform? What is the tissue depth? Is the case screw-retained or cement-retained and if cemented, how will excess cement be managed?
Platform, connection, and parts lists
Implant manufacturers maintain specific dimensions for platforms and internal connections. Analogs, impression copings, scan bodies, and definitive abutments must match the implant line you placed. When practices mix component families without realizing it, the result is often a misfit discovered only at delivery.
A practical habit is to keep a simple case sheet: implant brand and diameter, connection type, healing abutment height, and final restorative path (custom abutment versus stock, screw access orientation). Sharing that sheet with the lab removes guesswork.
Emergence profile and tissue support
Transmucular contours influence hygiene, papilla support, and esthetics. The lab designs to the emergence captured in the scan or modeled on the provisional. When tissue changes between impression and delivery, communicate those updates; a static design may not match a dynamic soft-tissue situation.
Screw-retained versus cement-retained: framing the tradeoffs
Screw-retained restorations offer retrievability and avoid subgingival cement in many situations. Cement-retained solutions can simplify angle correction in some cases but introduce cement control as a risk factor. The “right” answer is patient- and site-specific; what matters for the lab is knowing which path you chose early enough to design appropriate access, margins, and materials.

Full-arch and hybrid workflows
Larger cases may involve verification jigs, multi-unit abutments, or specific screw sequencing. If your practice stages surgery and prosthetics across multiple visits, date-stamped records help the lab understand which version of the arch is current. Ambiguity here is a common source of expensive rework.
Before you hit “send” on the case
- Confirm scan body seating and complete opposing arch data.
- Attach radiographs or surgical reports if angulation is not obvious from scans.
- List all part numbers you intend to use or ask the lab to specify them.
- State material for the definitive restoration and any provisional plan.
Note: Surgical and prosthodontic protocols should follow your training, implant system directions, and local regulations. This article does not replace manufacturer surgical manuals.